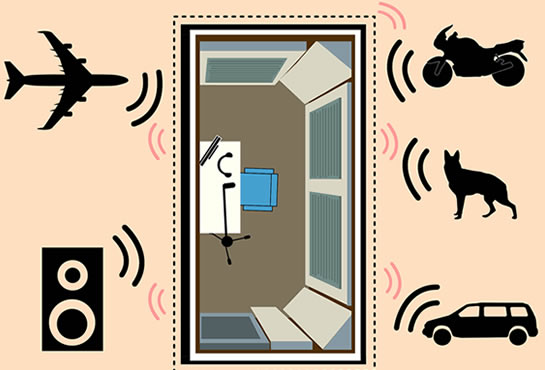
Ambient noise can spoil the work of any voice-over artist. Noise is as mysterious as water: it can easily penetrate the space where you record, you might not hear it, but your mic will capture it. With a noise gate and some EQ you can get rid of some frequencies, but your voice sound will suffered as a result. So post-production is not a substitute for a noisy recording.
When you’re first starting out in the VO industry you dream about the time that you can afford to set up your own home studio. We all want the best microphone and the best vocal booth to work with but these things cost money and when you’re new to the industry, money is something that’s in short supply. However, you still need to do quality recordings for auditions so you need to work with what you’ve got until such a time that you can afford to make the investment. You can’t keep going to the local studio every time you want to make a recording. It’s just not practical and it will cost an arm and a leg so what’s to be done?
Well, there are some practical things that you can do around the home to compensate. The main issue of course is ambient noise. Before you were a voice over artist ambient noise was something that never really registered with you. It’s only when you get your first microphone and start recording that you realise ambient noise can be deafening!
Just stop for a moment and listen to the noise around you. You’ve probably got a clock ticking somewhere in the distance, your neighbour might be opening and shutting their car door, your refrigerator may be whirring, your washing machine may be tumbling, there’s probably the distant rumble of traffic. All of these things normally pass you by but when you turn on the microphone and start recording, this is when the panic kicks in! How on earth are you going to cut out all this noise?
To combat unwanted ambient noise from the outside world you need to SOUNDPROOF your home studio. You don’t want noise to leak into your booth and spoil your recording. The ideal thing is to create a room within a room, a box within a box, where ambient noise will be unable to jump into the recording area, because you have left an empty space, a kind of air chamber all around your booth. The walls and the door of that studio should have a thick, heavy mass to stop any sound wave from entering your space. This is a substantial investment and certainly something we recommend if you want to work professionally in voice-overs. To build that kind of professional booth you can follow the tips from this video.

But we assume you don’t have neither the time, nor the money to make such an investment even if it is in your garage. So we advice that you do a minimum of soundproofing by being a bit creative about the space you are working in. Besides soundproofing, you need to apply acoustic treatment, to avoid unwanted resonances, because you don’t want to speak in a tin can or produce a bathroom noise, which is the nightmare of any producer and will put you in a black list. No studio want bad audio with resonances, reflections, echos… Remember that there is no audio plugin in the world that can filter the resonances of a non acoustically treated recording spot.
Here are a few tips to help you out:
- Cover floors with rugs – this is particular useful if you live in a flat or an apartment where the noise of your neighbour is a bit of a burden. Having a few rugs around the room will help absorb some of the noise.
- Cover windows with heavy curtains – good quality thick curtains that are lined can make a real difference to the noise levels entering your room from outside.
- Consider to put a second wall of heavy, sound absorbant curtains all around the room, not just the windows but also the walls. Then leave 10 cm, between the two curtains. This dampens the sound from the outside.
- If you live in a flat or apartment where you have adjoining walls, place a bookcase or some kind of cabinet against the adjoining wall. If you then fill the piece of furniture with books or towels, clothes etc ten that will reduce the amount of noise that filters through.
- It may sound obvious but remove things from the room that make a noise. Put the clock in a different room, turn off your printer, put your cell phone in another room. It’s amazing how many people have been recording and their cell phone then starts ringing – schoolboy error!
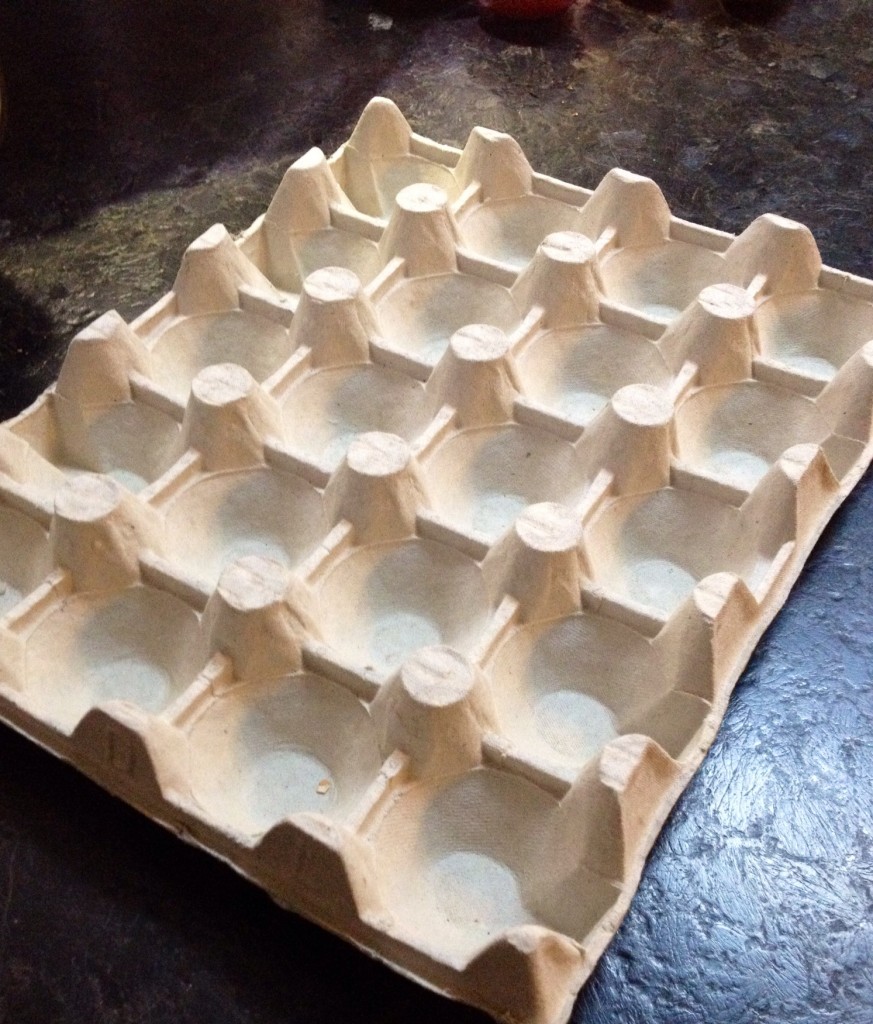
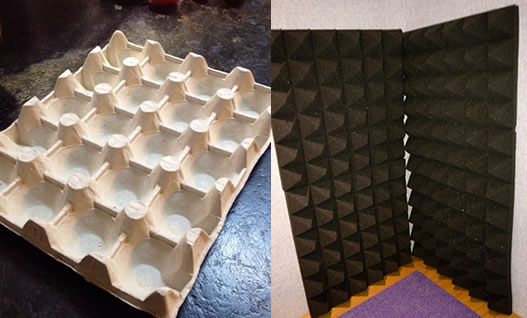
- To avoid the reflections from the ceiling or other remaining flat surfaces try to surround the recording spot with polyhedral surfaces, that break those reflections. You can find in the market all kinds of acoustic tiles, but if you are low on money just go to the supermarket and ask for carton egg trays. You should get them for free. If not you can buy them online at a very cheap price for instance at this Egg Carton Store.
- If your budget allows buy the professional stuff and use a mix of absorbant and diffusers, like the ones manufactured by the Portuguese company JOCAVI
If you do the above and place some acoustic screening around your mic, then it’s possible to do a noise-free recording. It won’t be as good as performing in your own vocal booth but it’s certainly a good interim measure. Check out the tips contained in this video to visualize what we mean.
Checkout this INFOGRAPHY we made with more information on the features every home studio should have to be soundproofed and acoustically treated.
If you want to get deeper into this fascinating subject, this article also gets deeper into the matter, with FAQ on both acoustic treatment and soundproofing.
What do you think? When you first started out in voice over what did you do to cut out ambient noise? Please share your thoughts in the comments below.

