Having a voiceover home studio is becoming a question of survival for any voice artist, really. The days when you had to drive downtown to the studio for each and every recording are gone maybe for ever.
Today just the great, well-paid gigs, spots and the like do still require your presence in that fancy studio suite with a real sound engineer, while more and more clients appreciate the so called “télé-travail” as the French say, they don’t seem to care much about the bells and whistles of a traditional studio. Of course some home studios can provide industry standard sound, which is what we intend to outline here. There are many advantages in having your home studio, even though the mean an important investment at first.
Working from home may sound like a dream, but a few steps and you could turn it into a reality! Having a home studio is common amongst voice artists and highly suggested! So when do you start and build one? NOW! It will require you to dip into your wallets a bit, but it is guaranteed to pay off! You don’t need to dedicate an entire room of your home to create a studio, all you need are the right products and some elbow room to get you on the road to having a home studio.
Take a look at what this guy has to say! Peter Drew , a renowned voice artist, says that all you need is a small space, a decent microphone, and a mic stand connected to a laptop. If you want to get fancy, you can always invest in a sound proof room with high-end equipment! A home studio is intended for anyone with a will, and here we are showing you the way!
So with wallet in your pocket and inspiration revving your engine you are faced with the question “now what?” Well take into consideration this handful of tips from the blog OregonVoiceOver
- You get what you give. The quality of your productions will be as good as how much you invest into your studio. Keep in mind that the equipment you invest in should correspond with the outcome you are wishing to have. Just because it looks high-end doesn’t it mean it is, ask questions to the sales person and make your budget clear from the start that way you get the best quality for your price range.
- Now that you have the right equipment, do not assume great recordings will fall onto your lap. Remember that the equipment is your ship and it won’t sail anywhere without a scrubbed deck. Test your recordings and play them back to yourself, once you’re satisfied you can make due north!
- Your surroundings do matter. So whatever contraption you must invent for proper acoustics, do anything to make sure your voice is recorded to it’s most elite potential
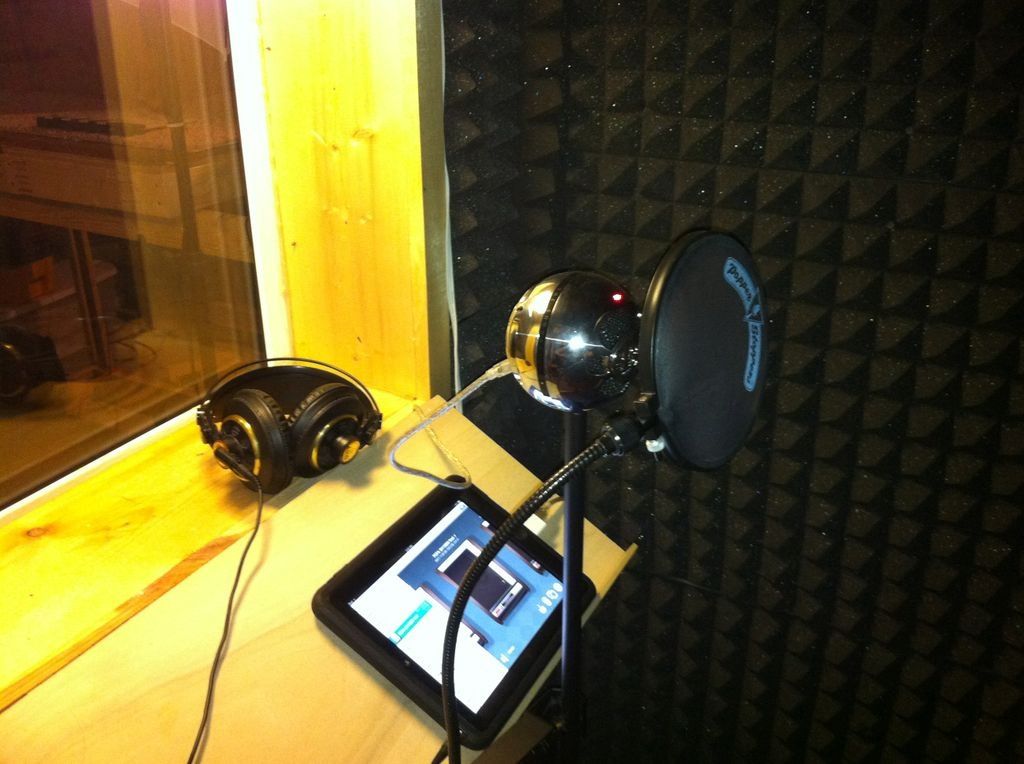
- And the final piece to the puzzle is to make sure your computer is of up and running quality! If you can’t trust your computer, invest in a new one… or even tablets might do the trick, see below.
Photo courtesy of Tree gecko
So we’ve been talking a lot about equipment and having the proper equipment and what equipment is right for you, but what are we talking about exactly? Here is a list given by David Courvoisier of standard equipment used in home studios (keep in mind not everything is required). We have added some extras for you to consider…
– A computer that has the required sound card, the more expensive the less noise, simple but true !
– A decent computer monitor or tablet (for example, Apple, Dell, HP, Samsung etc.). Good processing power wanted !
– A stable internet connection. Because you might need that Skype connection with your customer.
– User-friendly software that makes it easy for recording, editing and producing standard formats of sound files such as mp3s and wmvs. Click here for reviews of audio editing software!
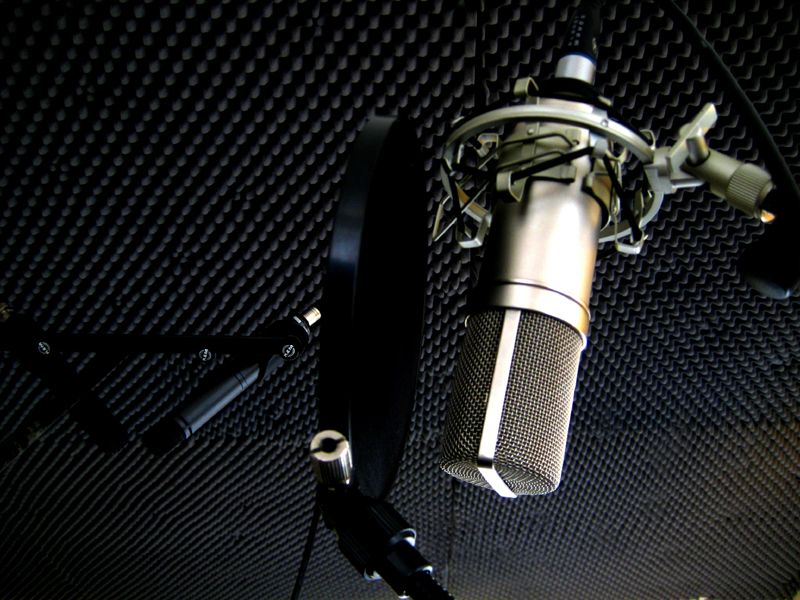
– A good microphone, preferably with a stand and top reviews! Looking to purchase one online? Check out this website!
– Soundproofing material: so important to deaden your recording space while avoiding reflections that can’t be filtered !
– Playback speakers or headphones. Headphones that cover your ears to prevent sound from coming out and getting into the mic
– Necessary cables and connector. Buy the top quality ones, golden connectors, expensive but more reliable
– A space big enough to fit your equipment… and of course yourself. Think about good and silent ventilation in your booth.
Want a more ‘Ikea’ assembly from a box approach? Our colleague, Matt Wiewel @VoiceGuyMatt recently Tweeted on our Twitter page a link that provides just that! Everything you need to set up a recording studio in a box! Check it out yourself!
So no matter your budget or available space, you can always ease your way into a proper and efficient home studio!
What do you believe is the best equipment? Have more tips on how to start a home studio? Share below!


Gigi Zamudio liked this on Facebook.
RT @DirectVoices: Voiceover Home Studio: what you need to know to build one. http://t.co/91wPZzfM
A build your own studio kit sounds awesome! I’m not necessarily the kind of person who LOVES spontaneously engaging in projects that take days on end to get put together… This sounds great! I’m easily looking into this!
Brian Spare liked this on Facebook.