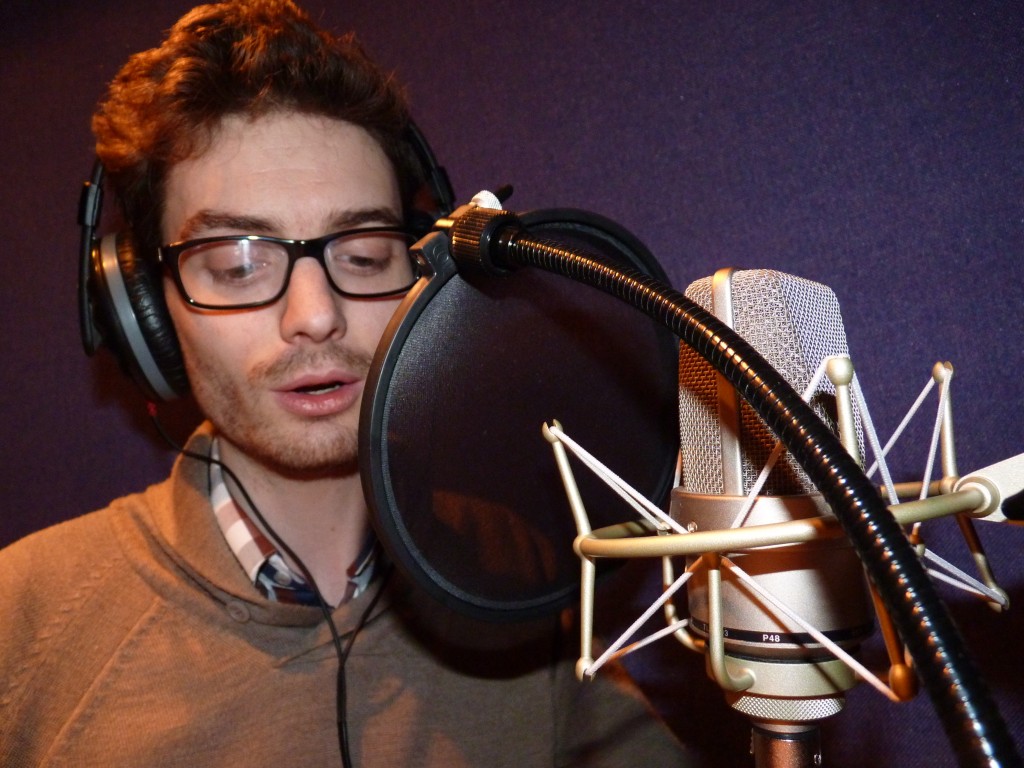
It’s an extremely sensitive ear with the amazing capacity of capturing more sounds than our auditive organ. But it’s just one single ear, so don’t shout at it.
Always be aware this impressive device will pick up more nuances of your voice than you can imagine. It can be so receptive in the world of sounds therefore don’t be surprised if it captures your heart beat, so if you happen to have one of those tic-toc wrist watches, better leave it out of the studio.
So let’s talk about how to interact with your mic, I mean your condenser mic with a cardioide pattern. Let’s consider microphone technique to produce professional voice recording.
The ability to use proper microphone technique to bring out the best in your voice is what makes a genuine voice over professional. This will help when it comes to editing, mixing and producing broadcast quality voice overs. Knowing how to avoid plosives, adjust for dynamics, and utilise the microphone so that it will enhance the emotion of the delivery are great skills to have.
Positioning the Mic and yourself
All microphones, no matter what type you are using, have the optimum spot where it will generally sound its best; this is approximately 6 to 8 inches away from the mic itself. This is generally where your voice will sound the most natural. You can try tilting the mic slightly backwards so that the air coming from your nose and mouth don’t hit it directly. This will help in avoiding plosives and save you a lot of time in editing later. Don’t be afraid to get closer to the mic if your looking to make a more intimate voice over and to achieve a more seductive and romantic read.
For reads that require you to project your voice more forcefully it is best to turn away or to increase the distance between you and the microphone. This will make it sound more natural when you are mixing the voice over later.
Avoiding plosives
Hard consonants such as “t” and “p” can cause the microphone to “pop.” They can also happen at the end of words where a consonant requires an expulsion of air such as with the letter “f”. Tilting the microphone backwards can help avoid plosives. Investing in a popping shield for your microphone is the best bet. This will save you a great deal of time when you are editing your voice over later to take out all those breaths!
Practice makes perfect
Like everything else, good technique takes practice. Try recording yourself reading various types of copy from various distances in proximity to your microphone.
From doing this you will learn how your microphone is affecting your voice under different conditions, and how it improves, or impairs, your ability to communicate the intended feeling that goes with the message of whatever voice over you are performing.
To work in this industry you will need to master microphone technique. A sound engineer will notice quickly if you are uncomfortable with the mic and seem unsure. This will give your inexperience away and this is something that you don’t want to reveal, especially if the client is there!
However, there’s no need to worry. Microphone technique can be mastered, your VO coach will help you and there’s plenty of great advice on the internet about it.
Check out in this video the tips and tricks from Paul Iwancio.
My advice is that once in the studio in front of the mic you get your arms, hands and legs free to move so that you are not sitting tightly and uncomfortable. Consider also remove the chair and just stand up. In that case adjust the mic up to a higher, mouth-level position. This is perfect for dubbing or commercial presentations. The advantage of standing is that you breathe better, you are not putting pressure on your rib cage, on your lungs. The bottom line is being really confortable to let a free flow of blood and oxygen in your body. Your voice will immediately benefit from it. Some people even remove their shoes to be really at ease on a recording or an audition.
To know if your voice is truly at the good distance form the mic, on the right spot, you should hear yourself back on the headphones as full presence. If you hear a hollow, ambience sound it’s obvious you should probably get closer. We take for granted that you are recording in a soundproof booth where no reverb or reflections are there. You should avoid any recording that take place in non acoustically-treated spaces, because it can ruin your reputation.
Did I say headphones? Yes, they allow you to listen to yourself and check if you are on or off the mic cardioide pick-up pattern. That means that you should be hear yourself without any delay, or echo. This means that your recording device should be adjusted to almost zero latency (there is always some). And last but not least, the headphones should be tight around your hear and adjusted at a moderate level. Why? Because a good mic can also capture the low sound that comes off your headphones, creating some kind of remote echo. So good insulated headphones also contribute that the mic capture your voice and only your voice.
How was your first time in front of the mic? Do you have any tips? What experiences have you had with mics? Please let us know, it would be very great to hear from you.

Gigi Zamudio liked this on Facebook.
Greta Mellerson liked this on Facebook.
ME GUSTARIA PARTICIPAR EN VOCES PARA LATINOS
Hola
No tenemos locutores mexicanos en DirectVoices.
Y si te inscribes? https://plaza.directvoices.com